How to Remove Space Bar From Membrane Keyboard?
How to Remove Space Bar From Membrane Keyboard?
Membrane keyboards are popular for their quiet typing experience and cost-effectiveness. While they are reliable for day-to-day tasks, sometimes you may need to perform maintenance or clean under the keys. If you’ve ever wondered how to remove the space bar from a membrane keyboard, this guide will walk you through it. Whether you’re cleaning or troubleshooting, removing the space bar is a relatively simple process if done carefully.
What is a Membrane Keyboard?
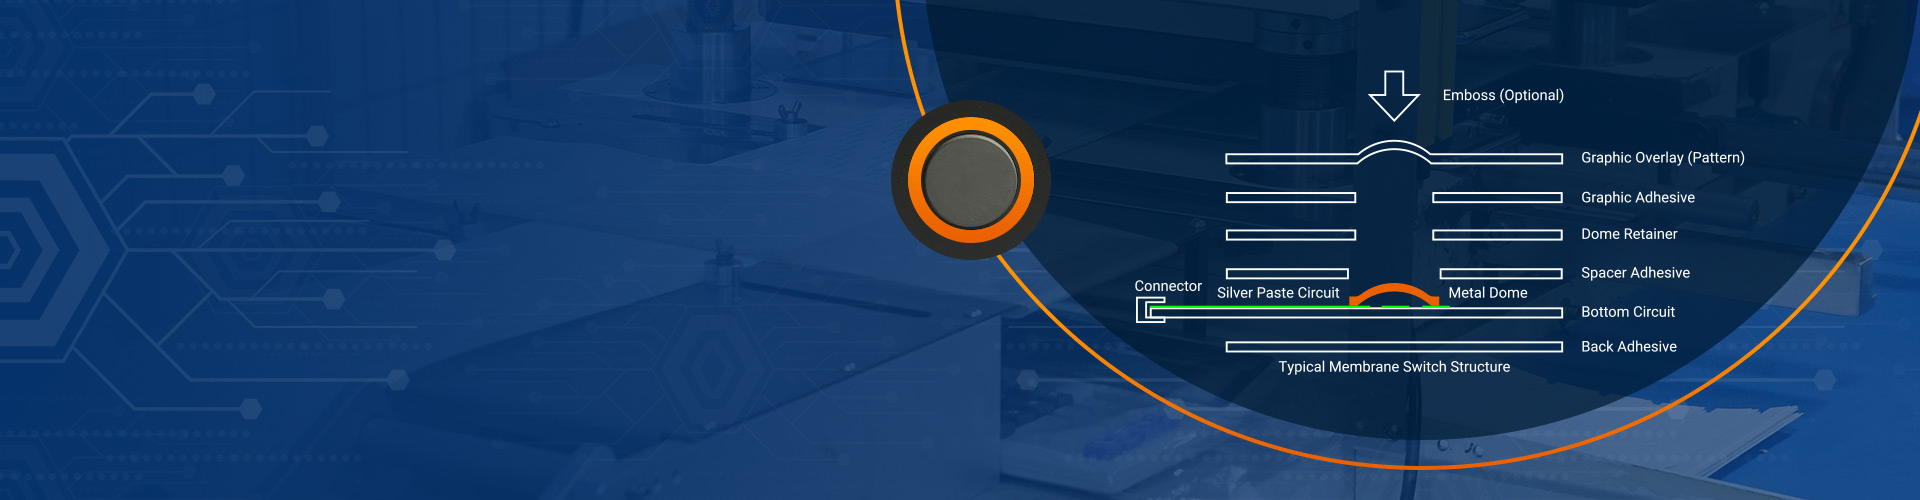
A membrane keyboard is a type of keyboard that uses pressure pads (membranes) to register keystrokes. Unlike mechanical keyboards, which use individual switches for each key, membrane keyboards rely on layers of thin, flexible material with conductive traces. When a key is pressed, the top layer is compressed, making contact with the layer below to complete the circuit and send the keystroke to the computer. Membrane keyboards are quieter, lighter, and usually more affordable than mechanical keyboards, making them a popular choice for home and office use.
Tools Required for Removing the Space Bar
Before you start removing the space bar, it’s important to gather the necessary tools. You’ll need just a few basic items to ensure the process goes smoothly:
- Plastic Pry Tool or Flathead Screwdriver: This will help you gently lift the space bar without damaging the surrounding keys.
- Tweezers (optional): Helpful for removing small parts like clips or springs, if necessary.
- Compressed Air (optional): Ideal for cleaning any dust or debris around the space bar before or after removal.
- Cleaning Solution (optional): If you plan to clean the keyboard after removing the space bar, having a gentle cleaning solution and a microfiber cloth is useful.
Step-by-Step Guide to Removing the Space Bar from a Membrane Keyboard
Follow this simple step-by-step guide to remove the space bar from your membrane keyboard:
Step 1: Power Off Your Computer
Before you start, ensure that your keyboard is disconnected from the computer or powered off. This prevents accidental key presses while you’re working.
Step 2: Inspect the Space Bar
Take a close look at the space bar to check for any visible clips or hinges. Most membrane keyboards have a simple clip system to hold the space bar in place, but some may have additional components. Identifying these will make the process easier.
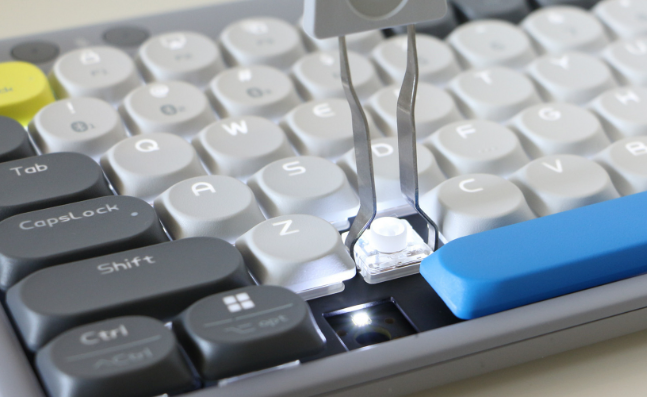
Step 3: Insert the Pry Tool
Carefully insert the plastic pry tool or flathead screwdriver under one edge of the space bar. Be gentle and avoid forcing the tool in too deeply. You want to lift the space bar without damaging the key or the membrane layer beneath it.
Step 4: Pry Up the Space Bar
Slowly apply upward pressure, working your way across the space bar. It may take a little time to get the key free, but be patient. If you feel resistance, stop and reassess. Forcing the space bar could cause damage to the key or the underlying membrane layers.
Step 5: Remove the Space Bar
Once the space bar is slightly raised, use your hands or tweezers to remove it completely. Be careful of any clips or springs that may be attached. Gently set the space bar aside for cleaning or maintenance.
Step 6: Clean Under the Space Bar (Optional)
While the space bar is off, this is a good opportunity to clean any dust or debris that may have accumulated underneath. Use compressed air or a small brush to clean the area before reassembling the keyboard.
Troubleshooting Common Issues During Space Bar Removal
Sometimes, removing the space bar from a membrane keyboard doesn’t go as smoothly as planned. Here are a few common issues you may encounter and how to address them:
1. Space Bar Won’t Budge
If the space bar isn’t coming off easily, don’t force it. Check for any clips or mechanisms that may be holding it in place. Make sure the pry tool is positioned correctly before applying more pressure.
2. Space Bar Comes Off but Doesn’t Sit Properly
If the space bar doesn’t snap back into place properly, inspect the key’s clip or hinges. Sometimes, the clips get bent or out of alignment. Adjust the clip gently with your fingers or tweezers to ensure the space bar fits correctly.
3. Debris Inside the Keyboard
Dust or dirt under the space bar can prevent the key from functioning properly. After removing the space bar, be sure to clean the area with compressed air or a soft brush to remove any dirt before reassembling the keyboard.
Frequently Asked Questions (FAQs)
1. How do I know if my keyboard is a membrane keyboard?
Membrane keyboards are quieter and lighter than mechanical keyboards. They use flexible, pressure-sensitive membranes rather than individual mechanical switches for each key.
2. Can I remove other keys on my membrane keyboard?
Yes, you can remove other keys from a membrane keyboard using the same technique. However, be cautious with larger keys (like the enter or shift keys) as they may have more complex mechanisms.
3. Will removing the space bar void my keyboard’s warranty?
If your keyboard is under warranty, check the manufacturer’s guidelines before removing any keys. In some cases, removing keys or disassembling the keyboard could void the warranty.
4. My space bar feels sticky after cleaning. What should I do?
If the space bar feels sticky after cleaning, it might be due to leftover cleaning solution or dust. Wipe the area again with a microfiber cloth and ensure it is completely dry before reassembling the keyboard.
5. Can I replace the membrane keyboard if the space bar is broken?
Yes, most membrane keyboards are affordable, and replacing a broken key is relatively simple. You can find replacement parts or even entire keypads online or from the manufacturer.
Conclusion
Removing the space bar from a membrane keyboard is a straightforward task that can be done with minimal effort. Whether you’re cleaning the keyboard, replacing a faulty key, or just performing routine maintenance, the process is easy to follow with the right tools. Just take your time, be gentle, and ensure you don’t force anything that could damage your keyboard.
By following these simple steps and tips, you’ll have no problem removing the space bar and keeping your keyboard in top condition. If you encounter any issues, take a step back and re-evaluate your approach to avoid unnecessary damage. And remember, taking care of your keyboard can improve its lifespan, ensuring a smoother and more enjoyable typing experience.
If you need any assistance with keyboard membrane switch repairs or want to upgrade your keyboard for better performance, feel free to reach out to our experts. At Yuan electronics, we are always happy to assist with your tech needs, ensuring your devices are always in top shape.
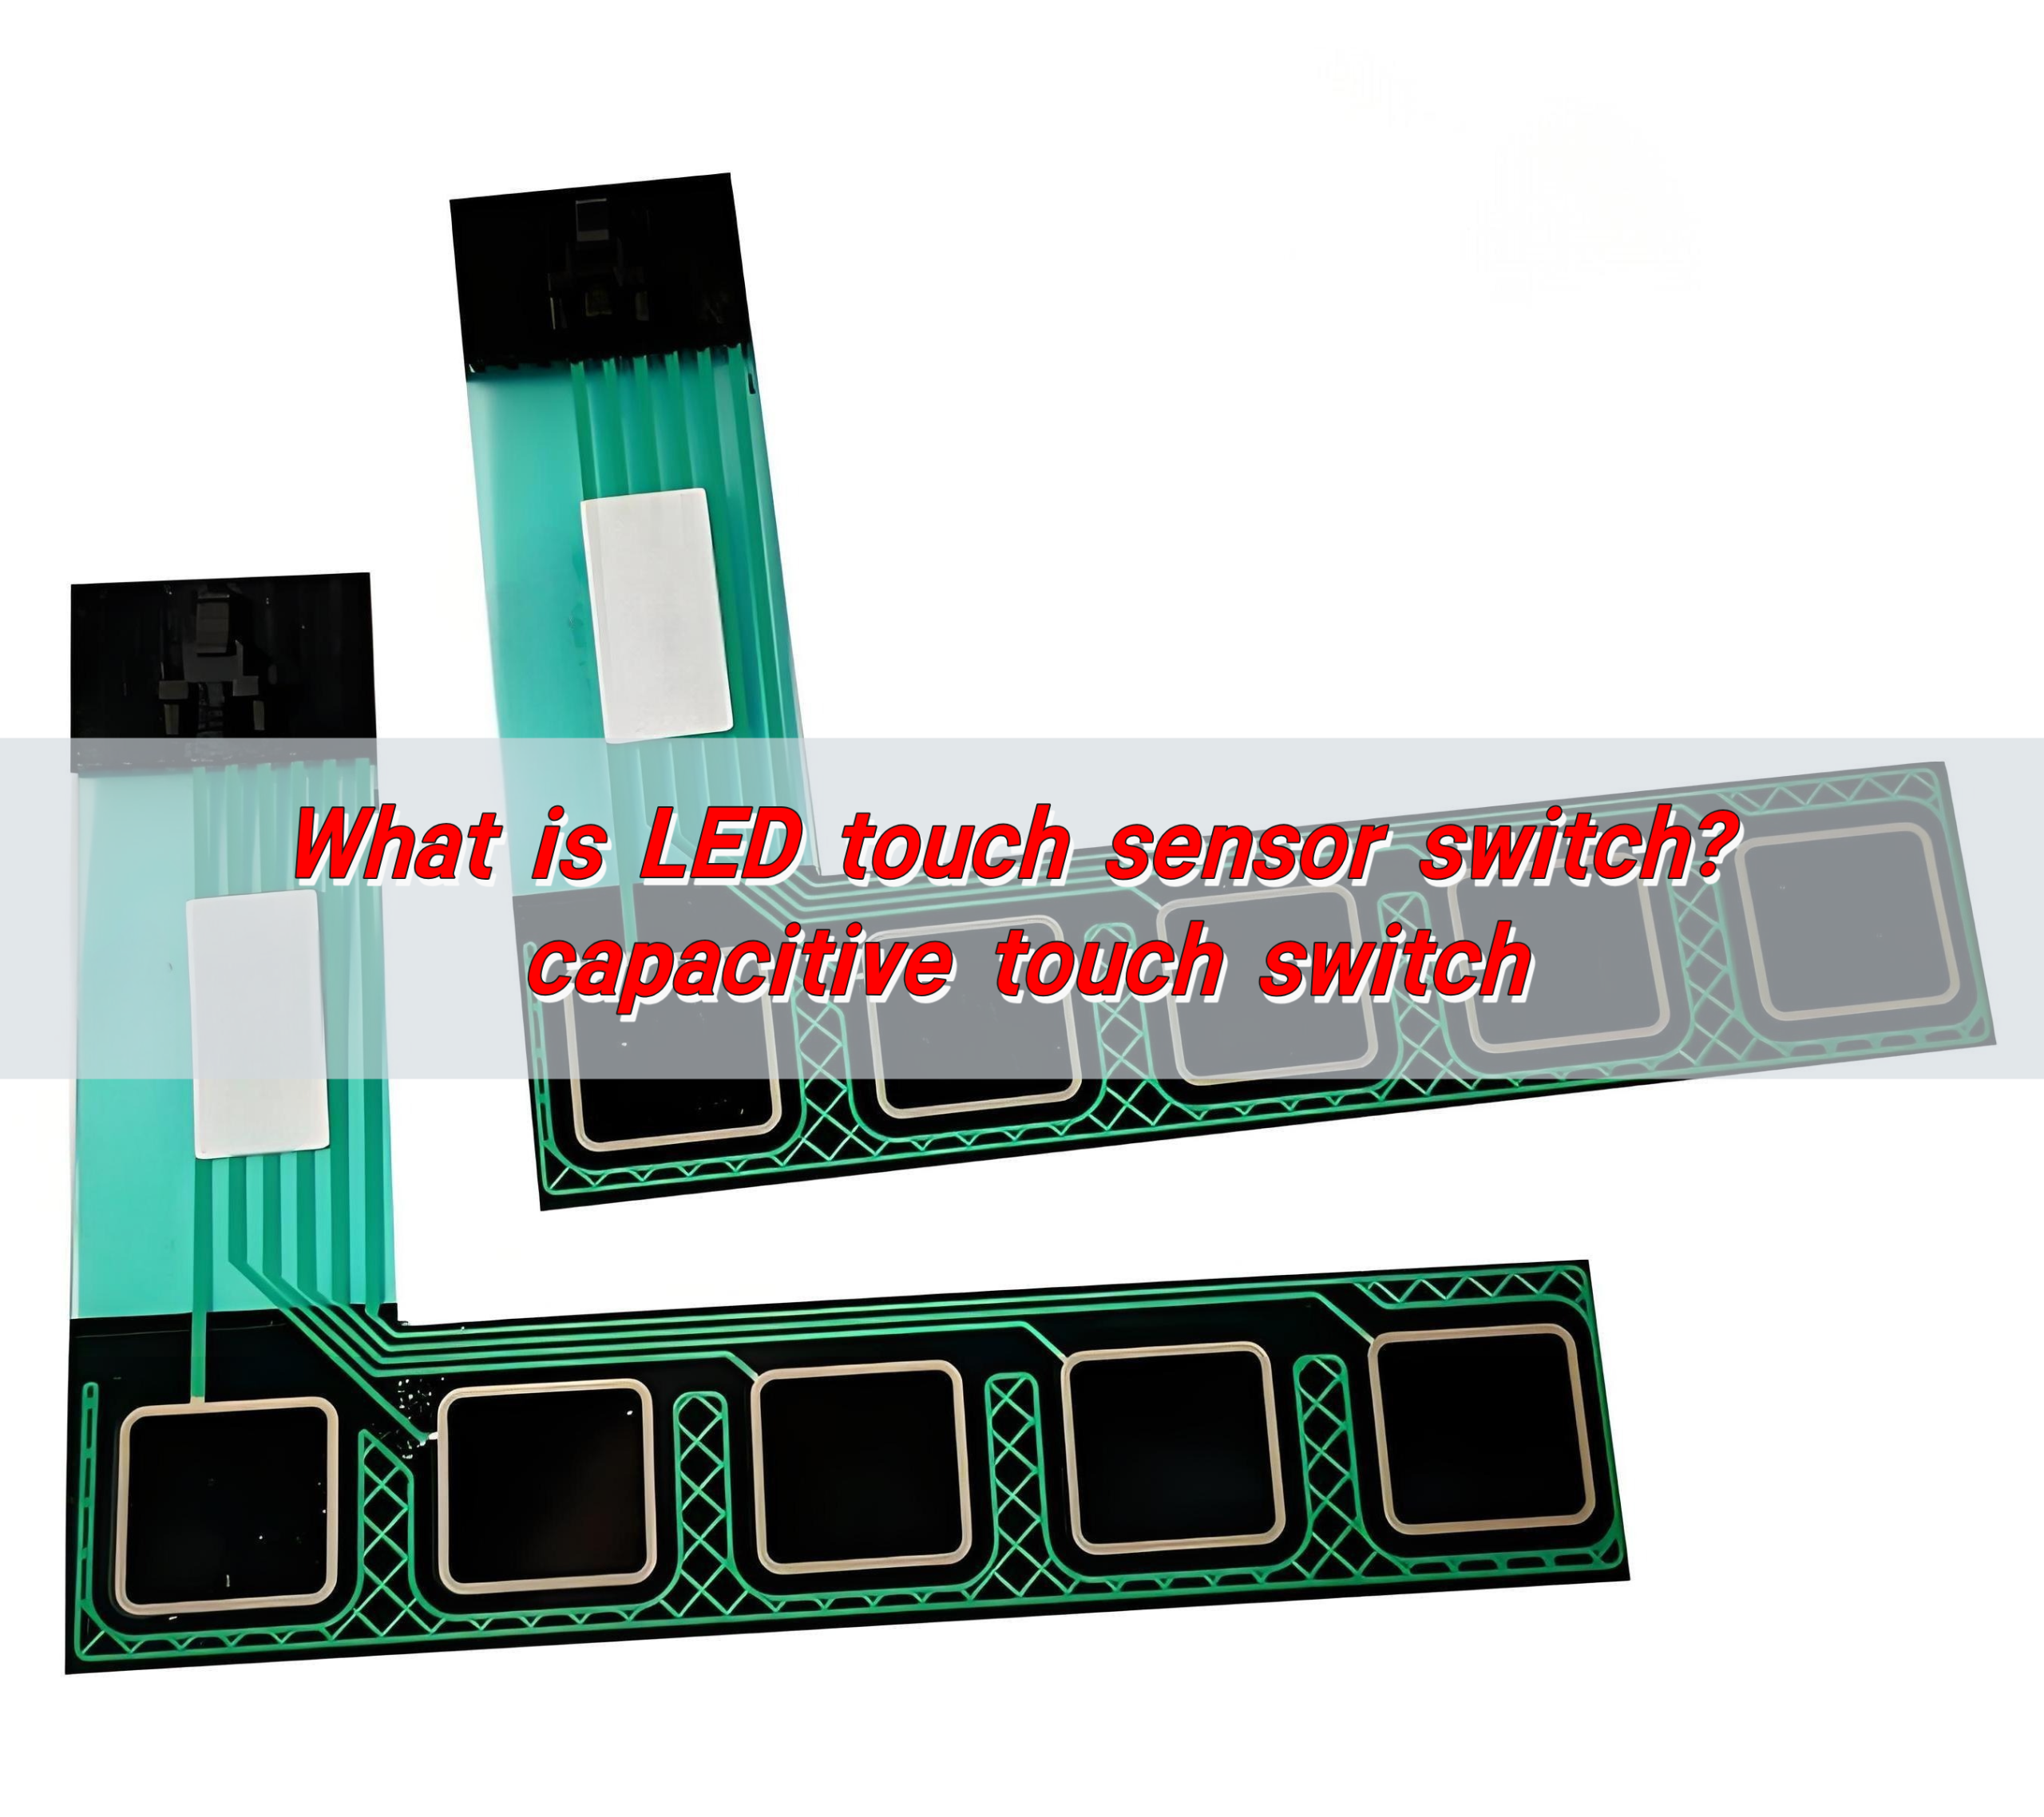
What is LED touch sensor switch? capacitive touch switch
The LED touch sensor switch is an electronic component that combines an LED light and a touch sensor. It controls the on and off of the LED light by touching it, achieving energy-saving and convenient lighting control. It uses capacitive sensing technology to detect human proximity or touch, thereby controlling the on and off of ...
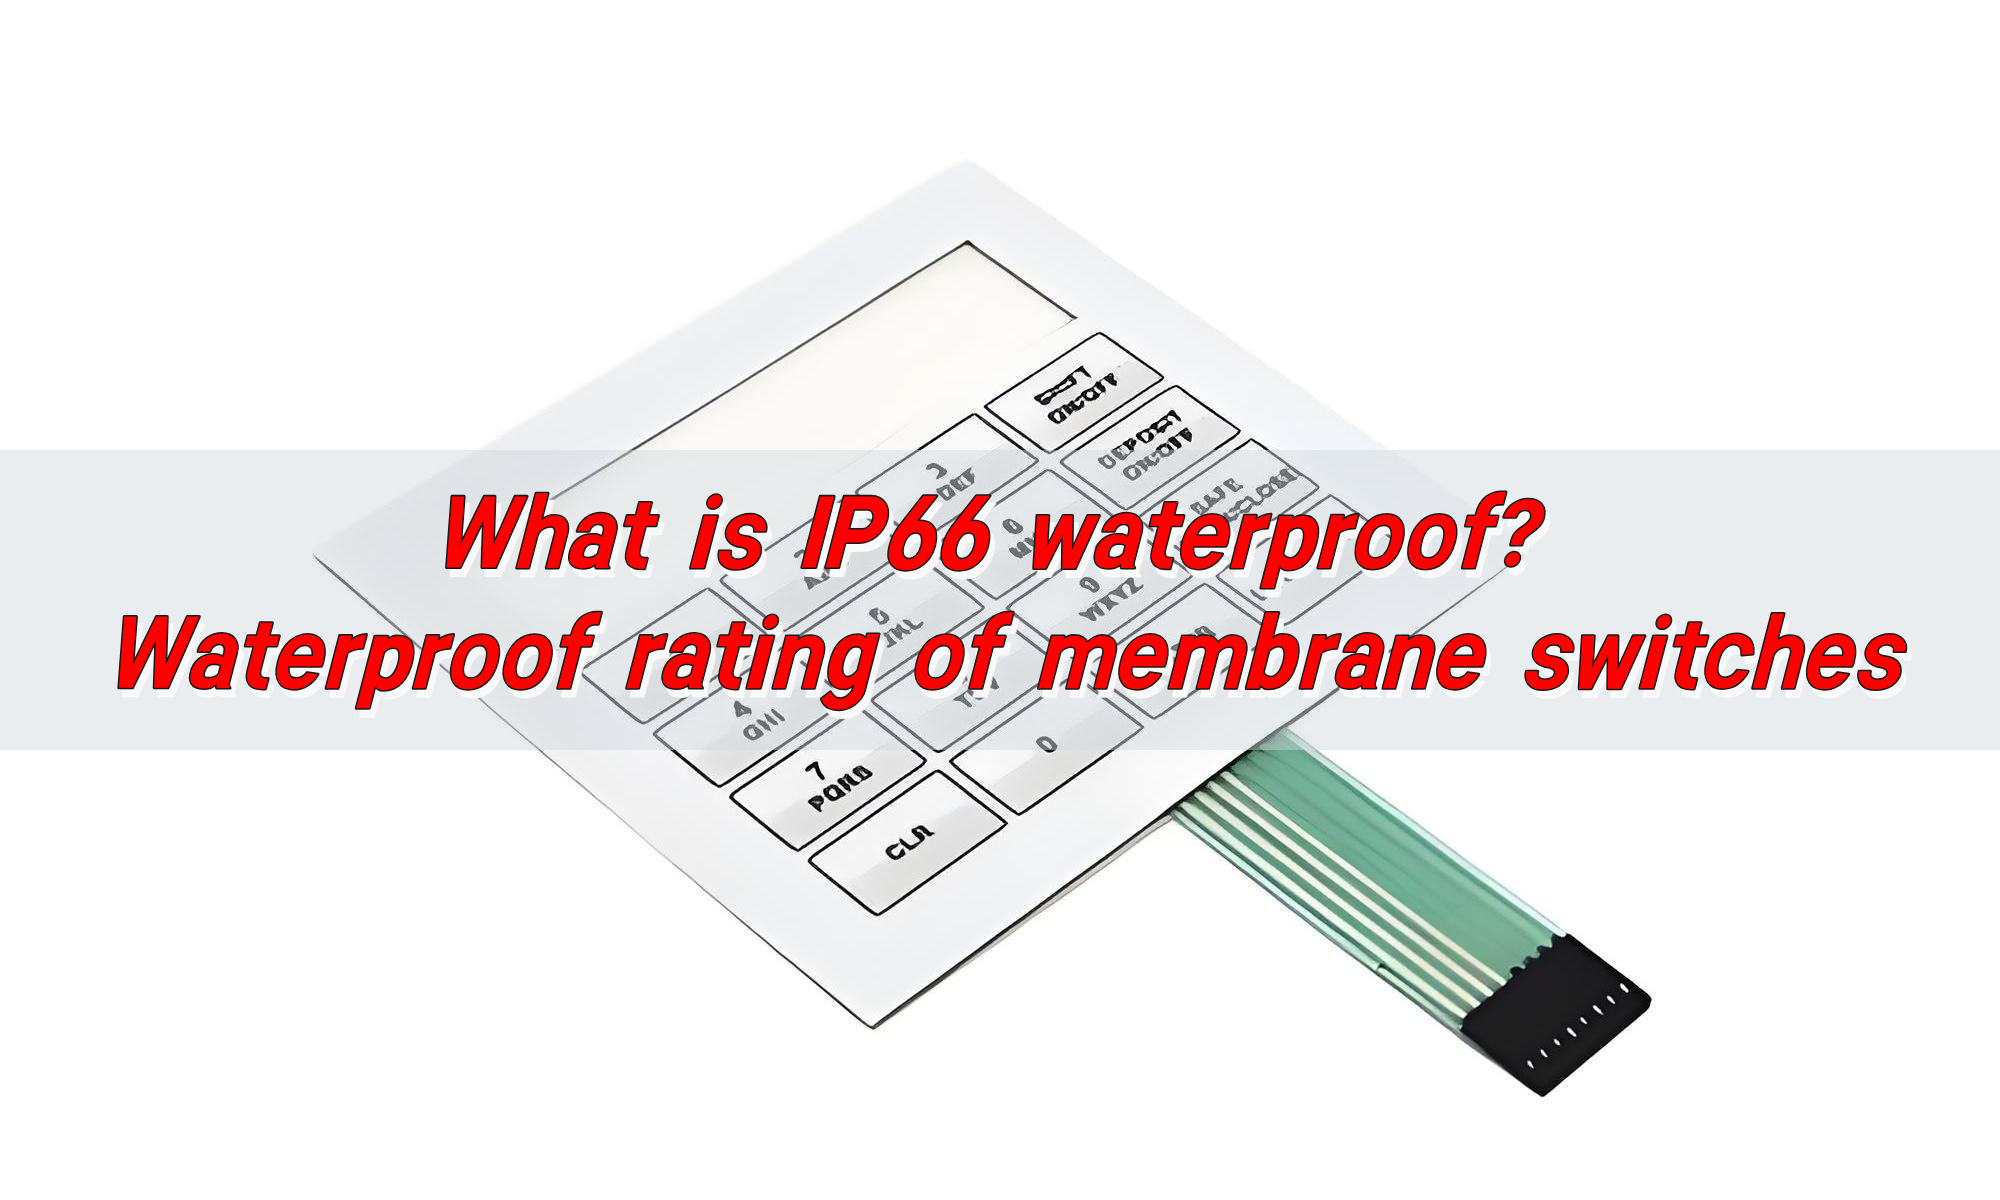
What is IP66 Waterproof? Waterproof Rating of Membrane Switches
The IP66 waterproof rating means that the device is completely protected from dust ingress and can withstand strong water jets. The waterproof rating of membrane switches can usually reach IP67, which is achieved through special processes and materials to ensure its reliability in humid or rainy environments. This performance makes membrane switches suitable for scenes ...
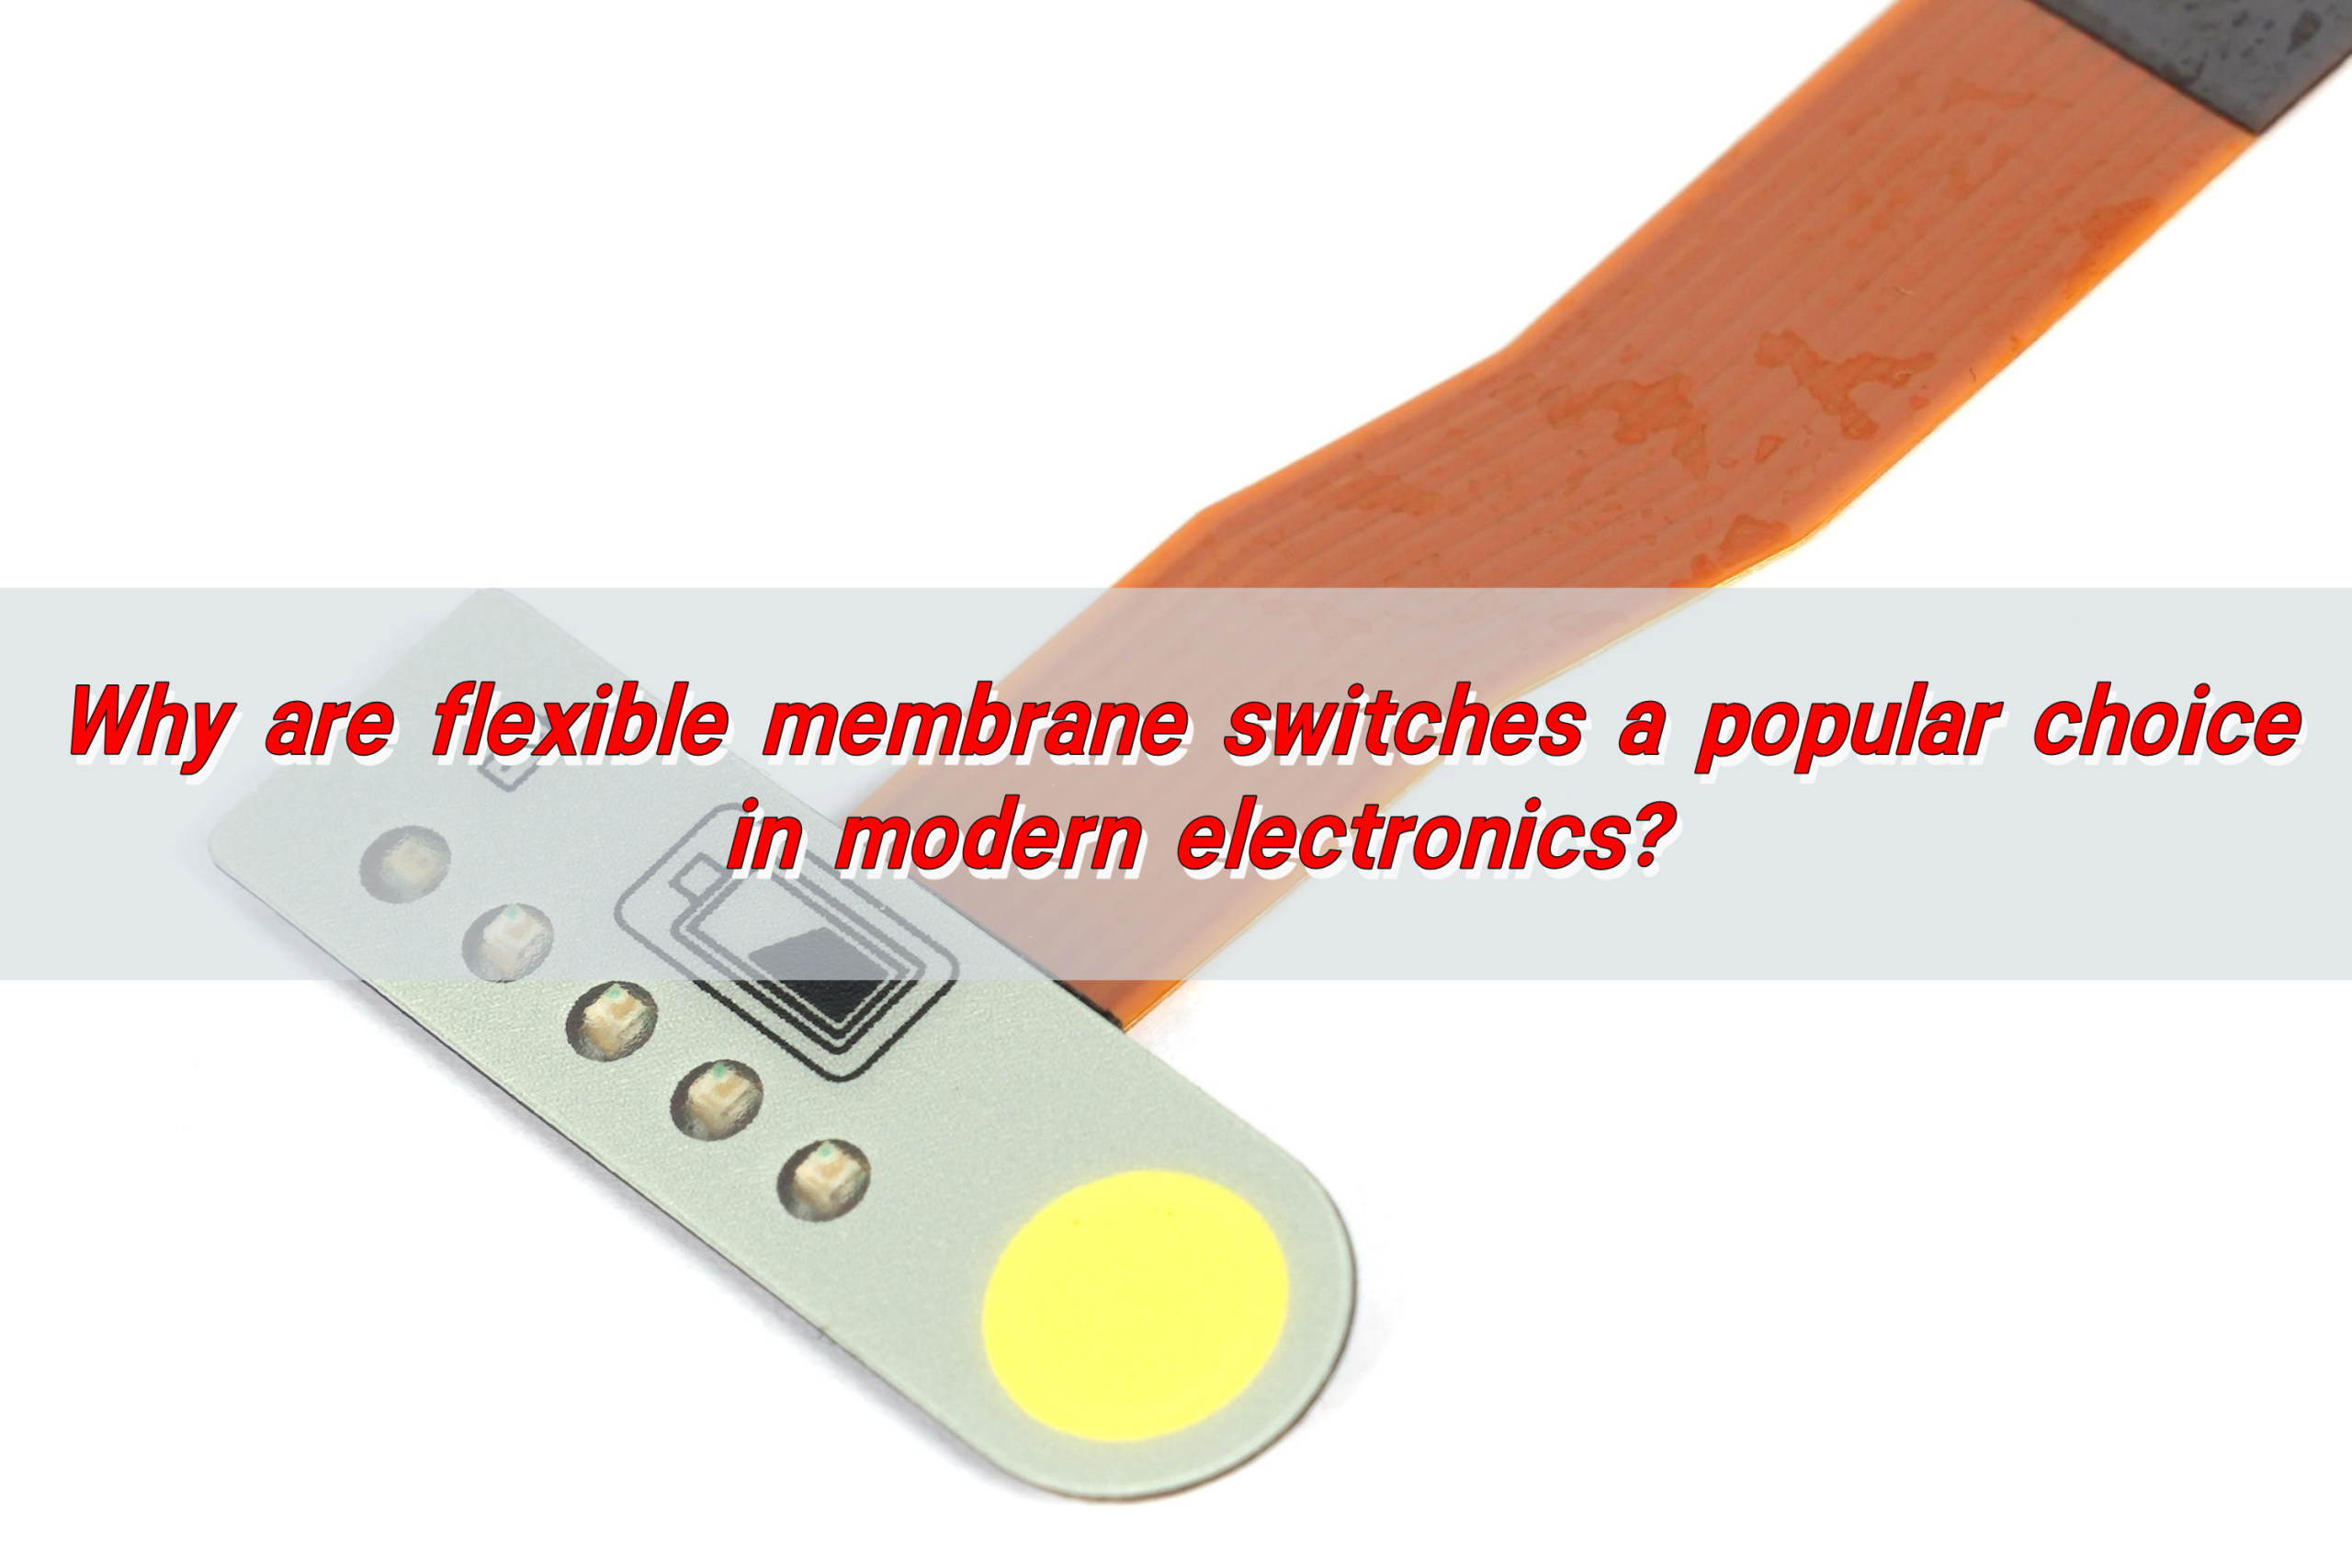
Why are flexible membrane switches a popular choice in modern electronics?
Flexible membrane switches are popular in modern electronic products due to their flexibility, thinness and economy. They not only adapt to complex curved surfaces and achieve flexible design, but also have environmental adaptability such as waterproof and dustproof. In addition, they support multi-function integration, such as LED indicators and sound feedback, to enhance user experience. ...
Contact us online